Procedural Scrolling Environment
Contents
Project Goals
My goal for this project was to create a believable, rapidly generated environment that can be viewed from the window of a moving train. The focus was on establishing the sense of traveling through a space with an infinitely generated, non-repetitive landscape.
Final Preview
Key Challenges
-
Creating the illusion of movement through a space using parallaxing items.
-
Managing thousands of moving assets (specifically, 4,540 assets).
-
Building recognizable environments with adaptable item placement.
-
Seamlessly transitioning between areas/regions based on gameplay progression.
System Goals
There are a few unique things this system had to do, which were
-
Give a realistic impression of movement
-
Be able to start and stop
-
Trigger environmental changes based on gameplay progression
-
Be scalable and able to accommodate new items and future changes easily
Solutions
To avoid constant spawning and destruction of assets, I implemented a conveyor belt system that continuously recycles assets. My asset manager dictates their speed and placement based on distance, size, and input settings, effectively managing the scrolling environment.
Why Move the Entire World?
-
Gameplay & Progression – The player is escaping a city, and I can't predict how long they'll take. Running the train on a loop would make it difficult to align the environment with gameplay progression.
-
Speed & Asset Loading – Bullet trains reach 275 mph, and in a futuristic setting, speeds would be even higher. This would mean a massive environment could be looped through in seconds. Moving the train at such extreme speeds would also mean constantly loading and rendering new environment chunks.
-
Moving Platforms- Moving platforms are technically challenging and involve high risk of physics and collision errors. Since the player stays inside the train, moving the environment instead sells the illusion of motion without these risks.
-
Unreal Engine 5.4.2 – I was interested in testing the limits of Unreal’s new Nanite and Lumen features, which make it feasible to move the world instead of the train. Nanite's binned shading batches modular assets, while Lumen dynamically updates lighting and reflections meaning the lighting doesn't have to be baked. Having these tools at my disposal influenced my decision to move the world instead of the train.
Video
Here is a link to my video where I go over the basic functionality of this environment.
Data Management
One of my biggest challenges throughout this project was managing my data in an efficient way, understanding how all the data is sorted is essential to understanding how everything communicates with eachother.
Data Asset
ITEMS /
MATERIALS
I decided to make Items and Materials data assets because I needed to change these during gameplay, and needed to reference my established settings in other places.
Data Table
AREA TYPES /
LANE DEFAULTS
I decided to make Area Types and Lane Defaults data tables since they both contain preset information that I only pull when needed, and they do not need to be edited during the game
Data Tables
LANES
Lanes represent the different depths between my train and the end of the environment, the distance is broken up into multiple rows called Lanes. They are spawned in row order and maintain control of the assets spawned. This data is only accessed during initialization to customize where the lanes appear and how large they are.
Lane Structure Data
Initialization Information
-
Lane Number (Used for later reference)
-
Lane Width (Size)
-
Lane Length (Size)
-
Lane Height (Z location)
-
Constraints (Subtracts from width so items dont populate on the edges and interfere with other lanes)
Lane Data might look like this!

AREAS
Now that items, materials and lanes exist, they are edited here to better represent the area they’re in!
Different Areas are defined by fine-tuning how items and materials are placed in lanes and interact.
For example, a city might have a much higher probability of buildings, with less spacing in between, as well as a higher probability for ground materials like concrete and asphalt.
Area Overall Data
-
Area Name
-
Side (if this triggers change in both sides, or only the right or left)
-
Transition Speed
-
Override Speed/New Speed
Per Lane Setting
Item and Material Settings Available to change for each lane
-
Lane number you want to edit
-
Array of materials to override with their established settings (Ex-Probability,Duration,etc)
-
Array of items to override with their established settings (Ex-Probability,Wanted Lanes, Spacing,etc)
Area Data might look like this!

Overriding specific Items per lane


Overriding specific materials per lane

ITEMS TO SPAWN
Lastly I make a data table with all the item types I have so I can reference what items to spawn.
Item data table

Data Assets hold information for all my individual item types and materials, which are then referenced in my Data Tables and edited per area and lane.
Here’s the information held in my data assets
Data Assets
ITEMS
PRESETS
On Spawn Information
-
Item Name
-
Spawn Amount
-
Custom Primitive Data
-
Meshes to Spawn
EDITABLE
Can change, or needs to be accessed during runtime
-
Probability
-
Wanted Lanes / Depth to appear
-
Spacing and Delay between items
-
Meshes Available / In Use
MATERIALS
-
Material Name
-
Textures (Base Color, Normal, etc)
-
Roughness multiplier
-
-Probability
-
Duration
-
Transition Duration
ITEM DATA MIGHT LOOK LIKE THIS

MATERIAL DATA MIGHT LOOK LIKE THIS

Doing it this way, adding new items and materials is a relatively easy task. It just requires some information on how it should behave, which can then be accessed and edited within areas and lanes.
INITIALIZATION
Initialization covers everything the system does at game start, before items start moving, and mainly prepares to handle such a large amount of items.
Initialization takes place in the MAIN MANAGER, which spawns everything, deals with most of the data, and delegates sub-tasks to each lane.
Step 1 - Spawning Lanes
Firstly, with a simple line of code, I run through all the lanes in my data table and transfer their information to an array that lives within my main manager, so that it can be accessible in the future.
To note, my system runs on both sides of the train, but also has a setting to only appear on the right or the left. Both sides are replicated, so if there are 10 lanes in the data table, minus the lane directly under the train, 9 lanes will spawn on either side of the train. I call the right side my positive lanes, and the left side my negative lanes.
Scale Factor
The main challenge I had spawning lanes is transferring the input data for its size into a scale modifier, and snapping it to the previous lane.
For example- I want this lane to be 2000 units wide, I need to find the value I need to multiply my plane by for it to reach its desired length and width, and need to make sure it starts where the previous lane ends.
Lane 0
It all starts with lane 0, the lane directly under the train. Everything done here is also done to the next lanes.
First, my lane blueprint is spawned. I get the local bounds of the plane in that blueprint and multiply it by it’s desired length and width. Then I set it’s new world transform X and Y scale to be that number, which makes it accurate to the input data. I then move it to be centered to wherever the main manager exists in the world.
I then transfer it’s start and end length and depth to a structure that lives within the lane so I can use it later to manage where my assets should appear and disappear. I create and set it’s material, then transfer all the information about that lane from my lane data table to exist in that specific lane.
Because this is lane 0, I keep its start and end values, and update my Current End variable to equal the furthest point on the positive side on my lane in world space. This is where the next lane should snap to.
Other Lanes
Before spawning a new lane, I check if im at the halfway point and need to flip my math and reset my current end to be the furthest point on the negative end of lane 0.
The same thing is done again to determine the scale, but this time, the new location is equal to the current end of my previous lane + this lanes width, when doing the negative lanes, it subtracts. This snaps it to the other lanes.
After lanes are spawned they look like this!
Train View

Top View


Speed Ratio
Now that lanes are spawned and available, I want to work on the parallax effect.
Having everything move at the same speed looks like this
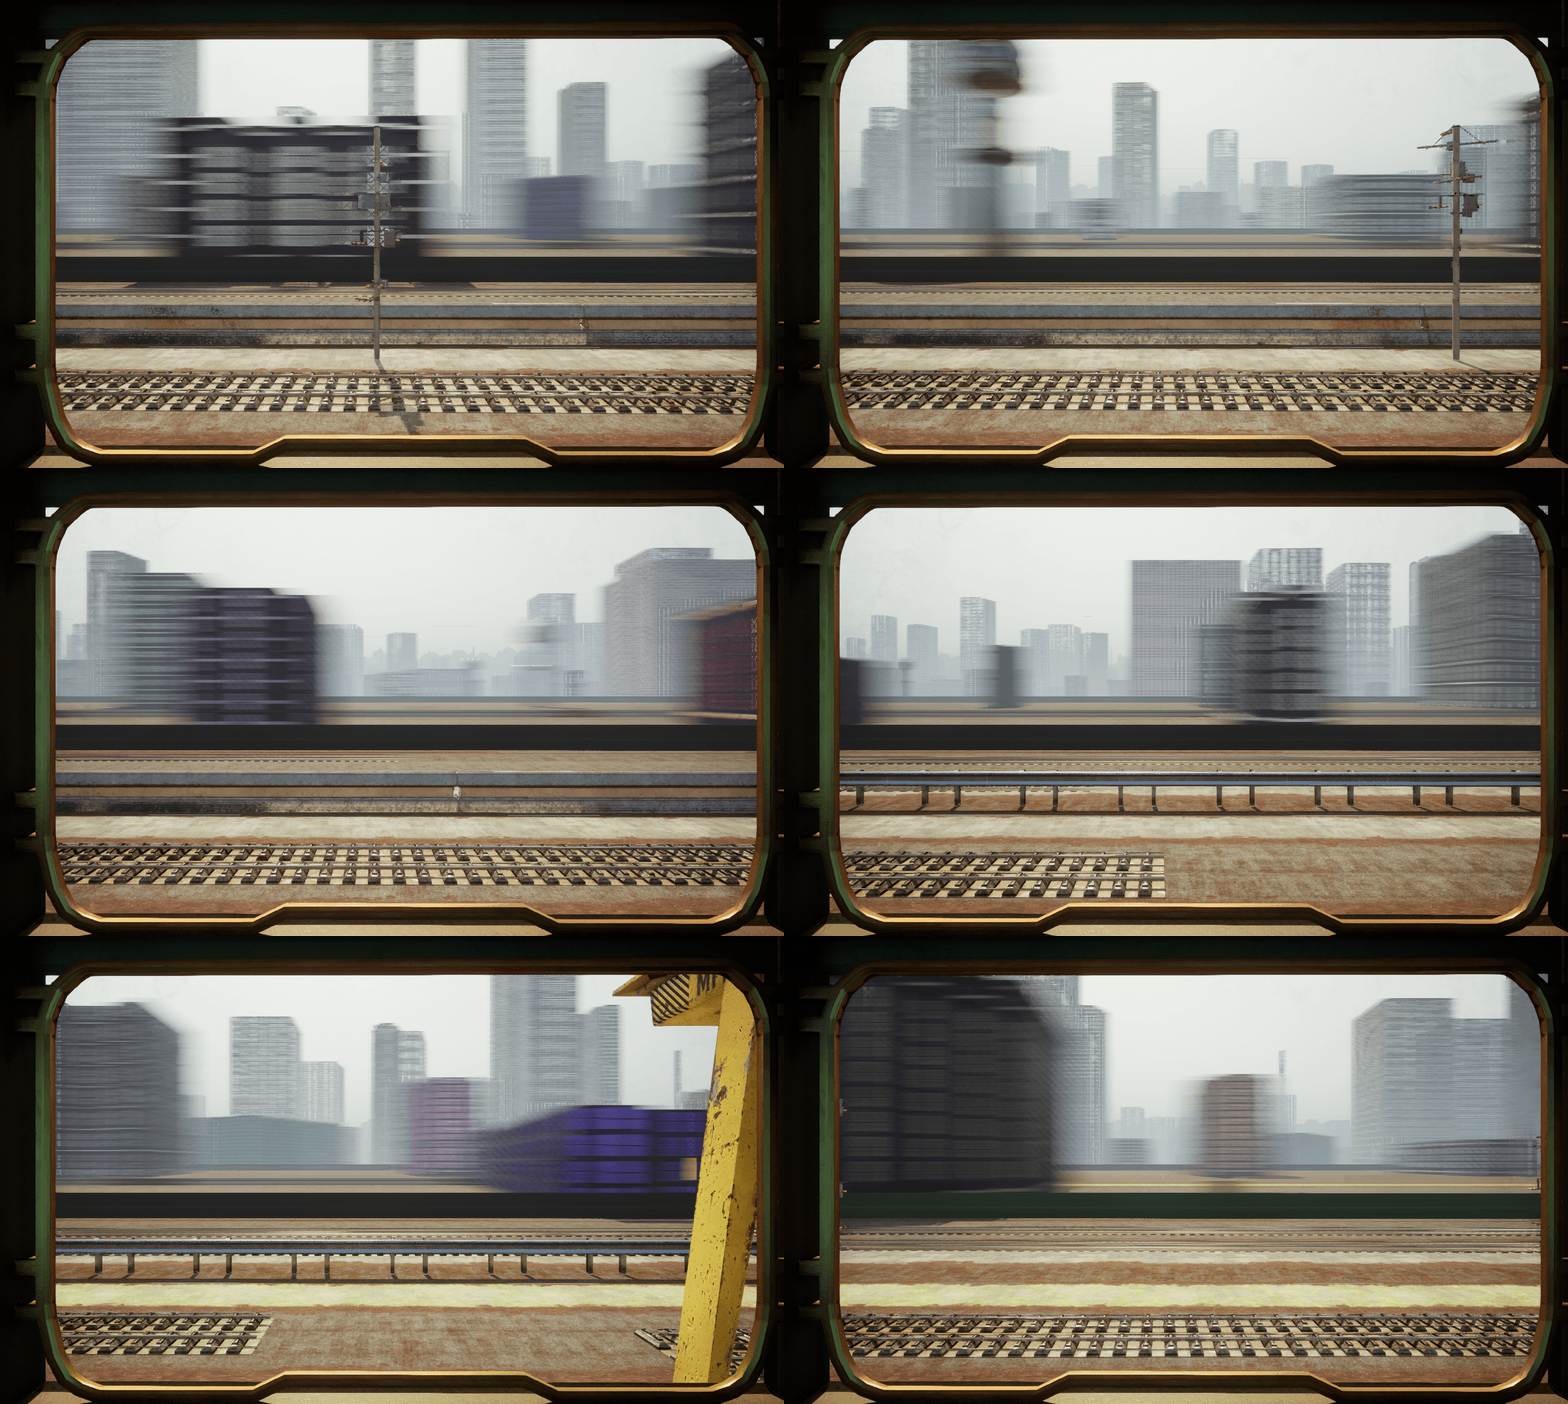
To create my parallax effect I take the declared speed and reduce it as the lanes get further based on a curve.
I calculate their speed modifier depending on their distance away from the train. To create this distance ratio, I get the furthest point of my environment's depth on Y and call this my Max Distance. In this distance ratio, my Train is 0 and my Max Distance is 1. The equation I use to determine the ratio is the Max Distance - Y location of the lane.
Ex- If Max Distance is 1000 and lane 5 is at 500, its ratio is 0.5.
To have more control over this visual effect, there are 2 other variables I can change to edit its distance ratio. The first is my Global Distance Effect, which is basically, how much should its distance matter? This value is multiplied by its distance ratio.
At 1, the ratio is the same, and an item at 0.5 distance goes half speed. At 0, it doesn't matter at all and everything goes at the same speed, etc.
Lastly, I have the max speed falloff. I implemented this when i noticed that things in further lanes with a super small ratio almost stay still, and would sometimes fall to a scale factor of 0, which is no speed.
The max speed falloff will ensure that no ratio falls below this value.
Speed Curve / Parallax
Although this system worked, I wanted even more control over the falloff. I wanted to be able to have a sharp decrease after certain points, and maintain my speed in others. To achieve this effect, I implemented this curve, which allowed me to control my speed ratios with more precision.
This is a curve where X is the speed factor and Y is my ratio. This new value determined by the old ratio becomes my final speed factor!

Some different speed options
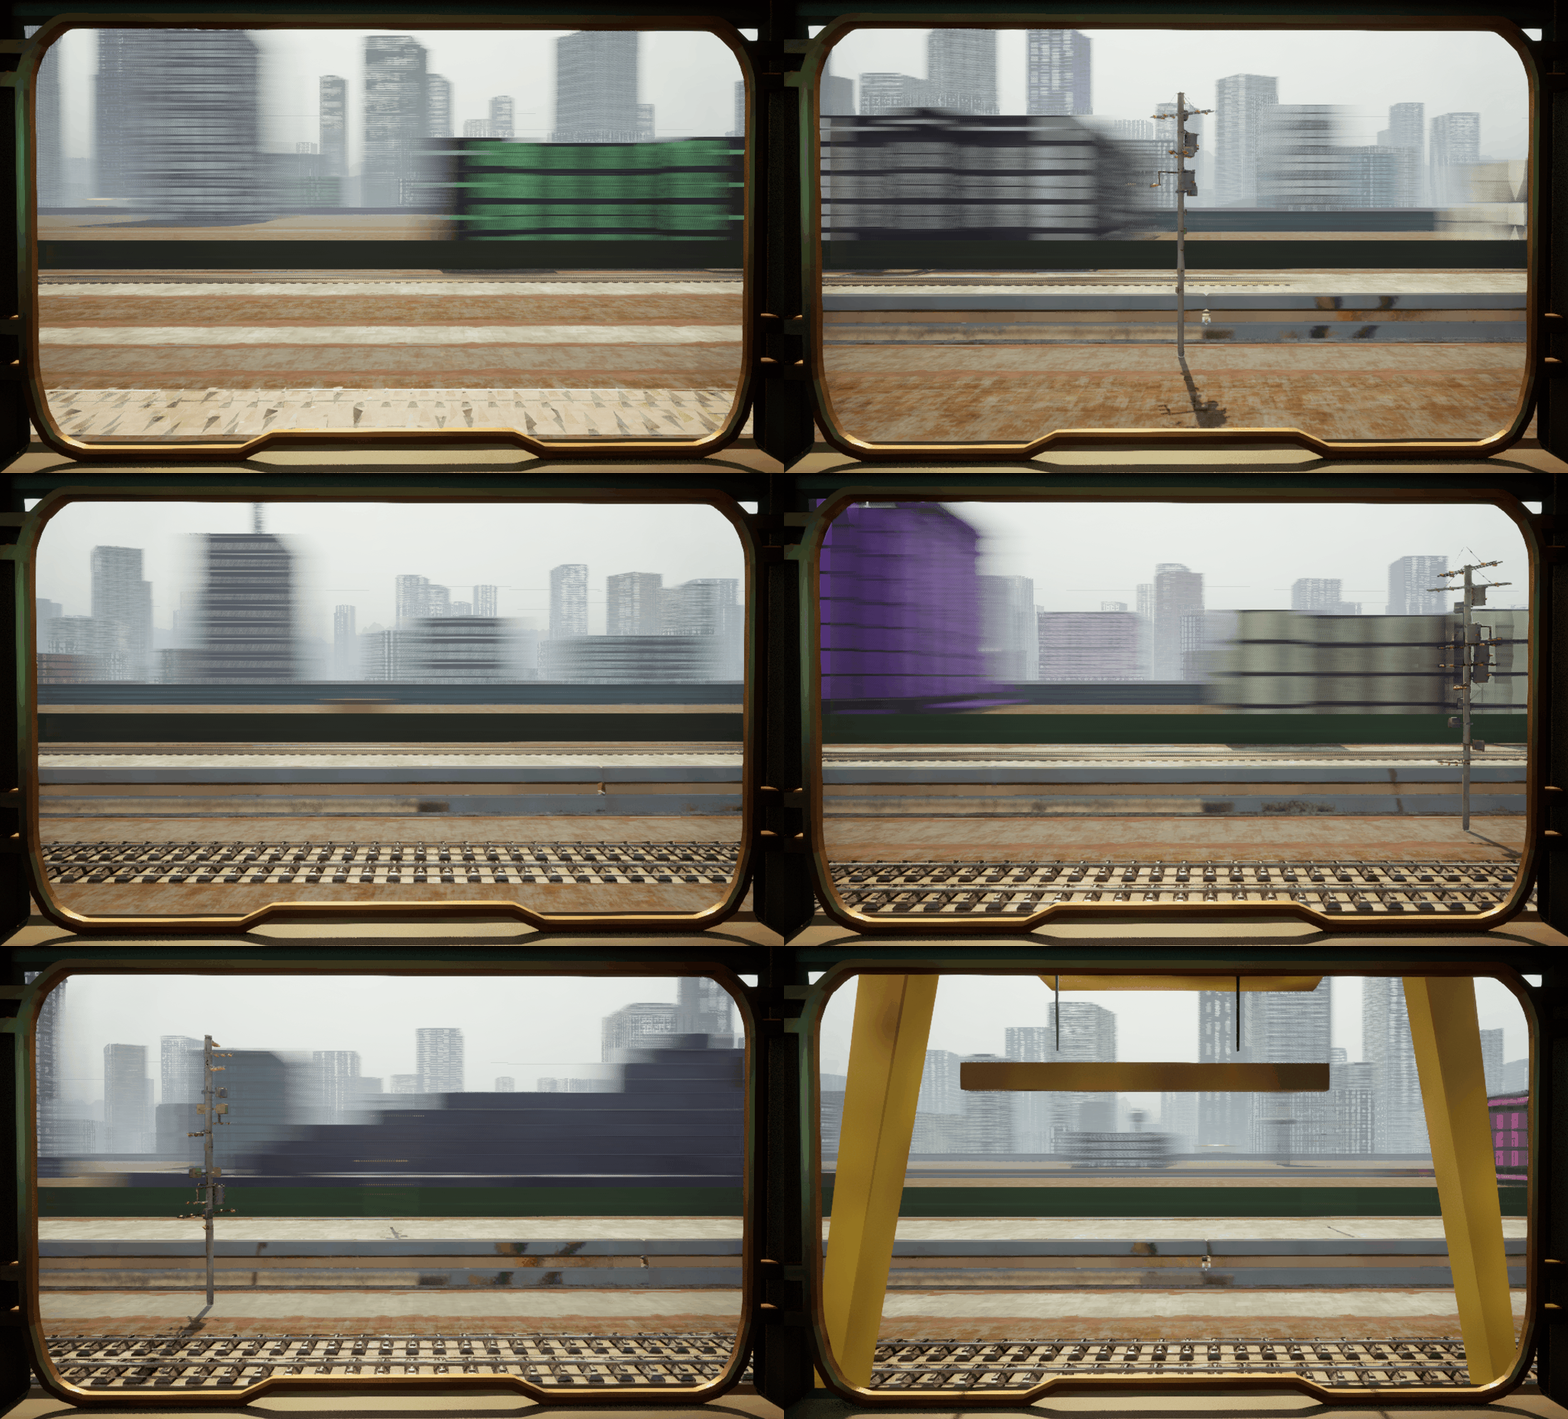
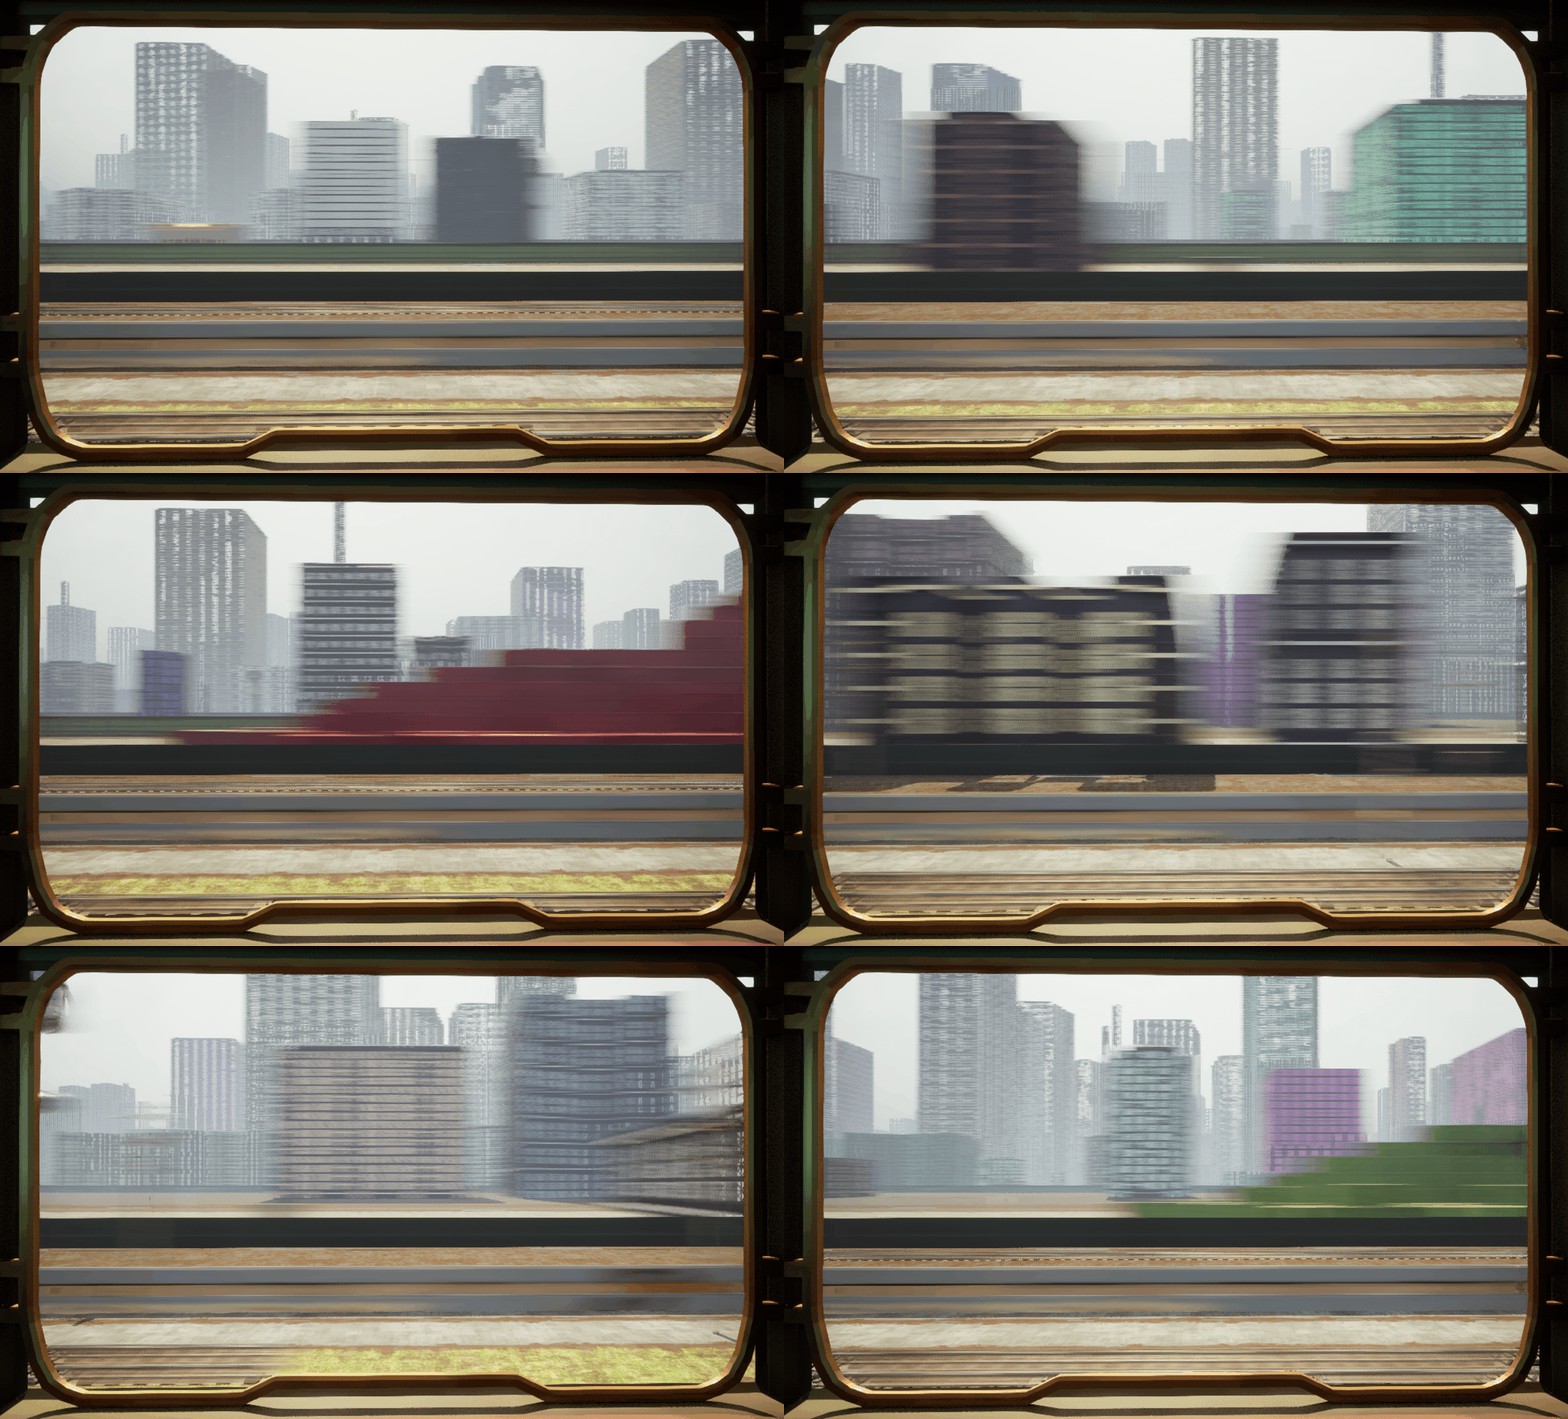
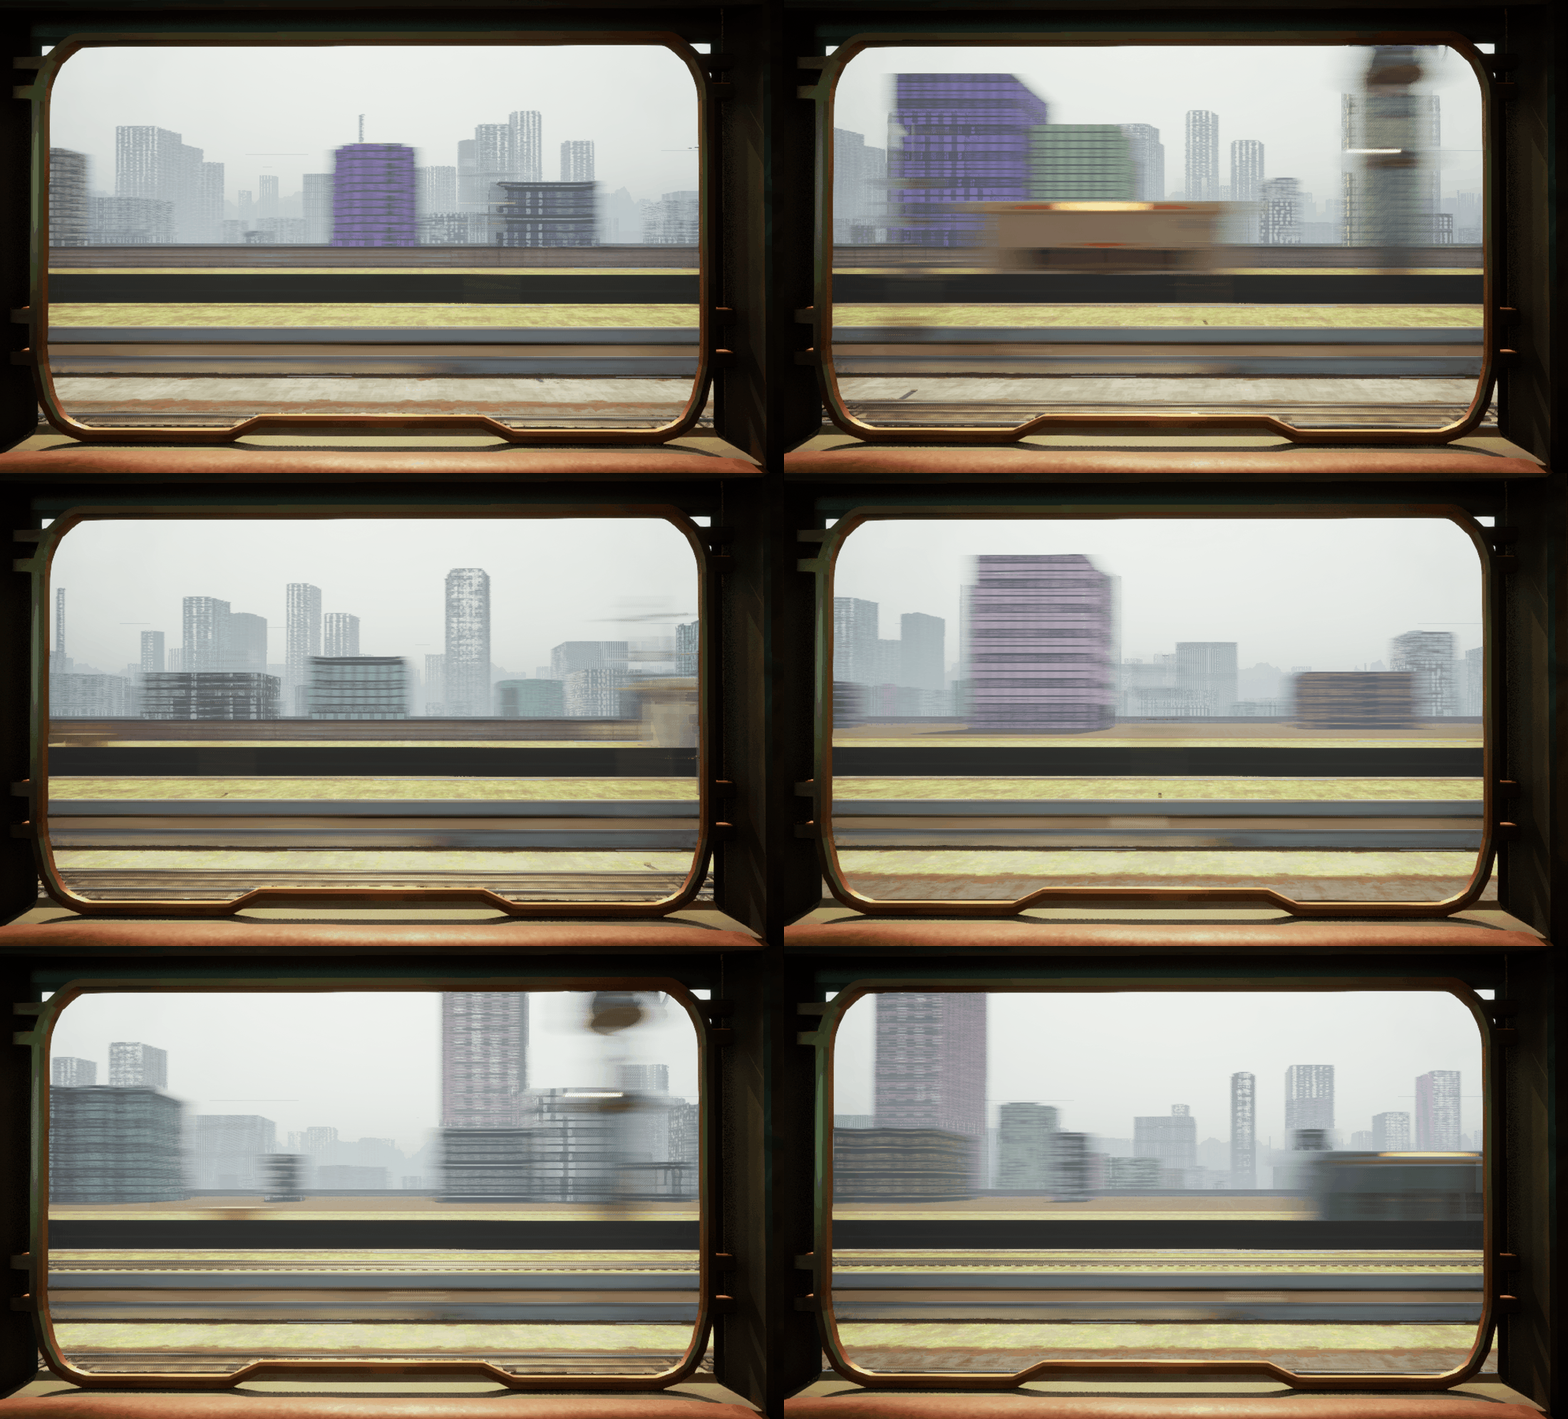
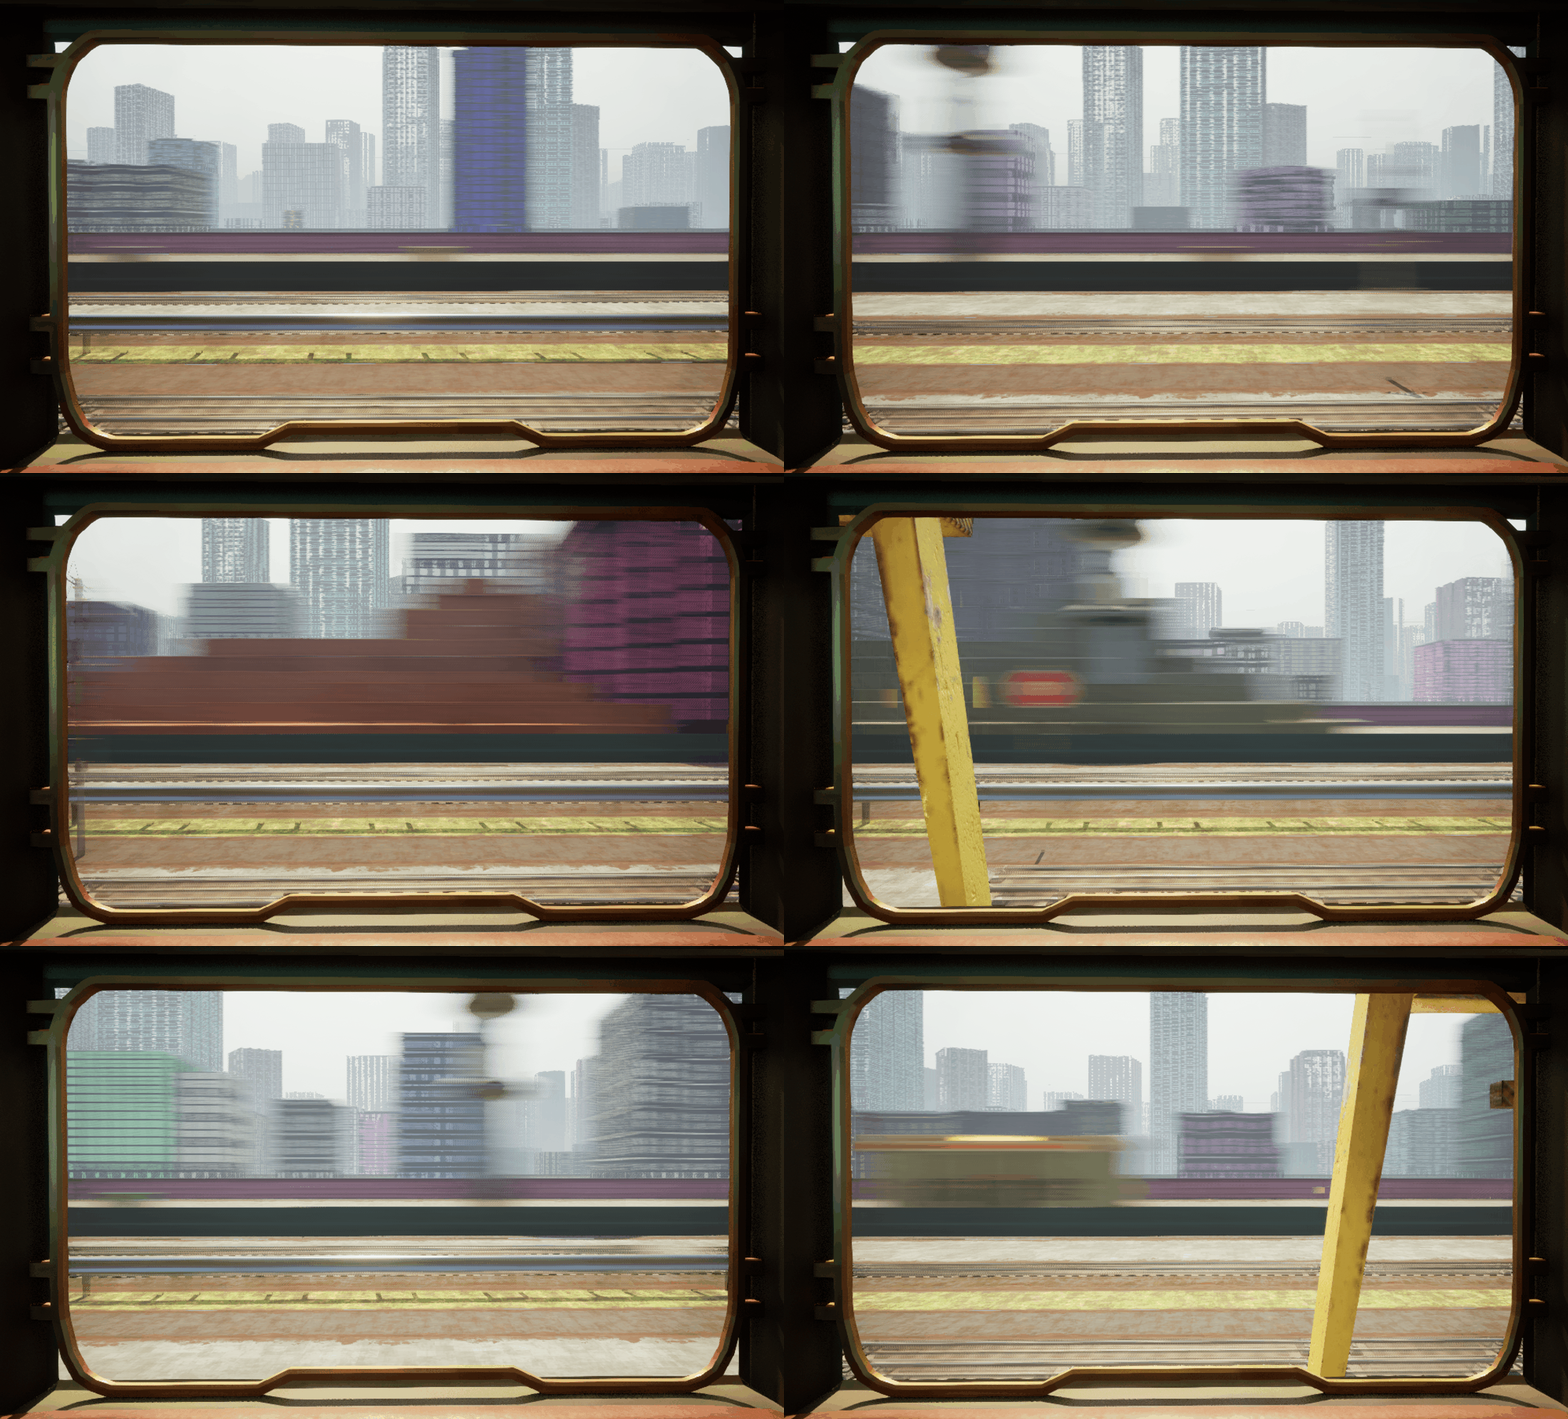
Lane Initialized Data
Now that my lanes are spawned and ready, here is the new data that each lane holds!
-Start and End Depth (in world space)
-Start and End Length (in world space)
-Speed Modifier
-Side (Right/Left)(Negative/Positive)
Lane Actor
The lane actor that I spawned has this information as well
-
Items in Queue
-
Items in Movement
-
Items that fit
-
Wanted Items (to be added in this lane)
-
Item Types Available (to be added)
-
Items Types on Cooldown
Speed Parameterization
If you want to change the speed, here are the parameters you'd alter

Max Speed is the speed without alteration.
Global Distance Effect controls the Parallax effect, 1 means it's in full effect and 0 means no effect
Max Speed Falloff is the most a lane can decrease to, so in this example, the most a lane can be slowed to is 40% of the Max Speed.
Lastly, the Speed Curve controls how the Parallax Effect looks as described above.
Step 2 - Spawning Items
Next I spawn my items, I use similar code to transfer all the items in my data table to an array I can reference.
I loop through all my item types and a few things happen, first any previous values are cleared from the data asset, data assets maintain their information which makes it great to keep track of everything but means it must be cleared.
One of the things this data asset held is Meshes to Spawn, most items have multiple variations. In my large building item type I have 18 different large buildings, these are my meshes I want to spawn.
I loop though all the meshes and run my spawn actors function.
Spawn actors
Each data asset also has a spawn amount, which can be overridden individually. This is how many versions of that asset will exist, I run this loop that many times.
There are 2 types of assets that can be spawned, static mesh or actor class blueprints (Like packed level actors).
Mainly, I spawn static meshes which aren’t compatible with the spawn actor node, so I spawn a blueprint I made called Empty Actor, which is an optimized actor blueprint where I set the static mesh.
After spawning the actor, I disable collision in case it wasn't already disabled, I set their transform to be under the map and hidden in game to be true. I add it to the Meshes Available array which lives in the Item data asset and shuffle it so they are more randomized.
After that, I go through all the lanes that this item can fit using the width of the lane and the bounds of the object and add it to Items that fit array in my lane. (this is run only once per mesh)
I do this so that even is an item is selected to spawn in a certain lane, it wont unless it fits.
A tag with a reference to all the lanes it fits is also added to the mesh.
Step 3- Initialize Areas
To set up areas, my lanes and items need a bit more information about each other. This is where i loop through all my item types that fit and are wanted in my lane, and send that information to my lane. I also set my lane side. Now, my lane has this extra information filled out.
-
Items that fit
-
Wanted Items
-
Item Types Available
-
Lane Side
START-UP
Filling in the world
On start, a few things happen. First of all, the area transitions to the settings I chose for the world to be filled in with.
In under a second, all item's probability and other settings are shifted to match what's declared in the Area.
Because there is such a large space to fill, and I want to fill it quickly I created a fill area.
When a fill area gets triggered, because further lanes tend to be longer, I inverse the speed curve so that further items move faster then closer ones
This is done under a black screen while my game loads, but under the hood it looks like this!
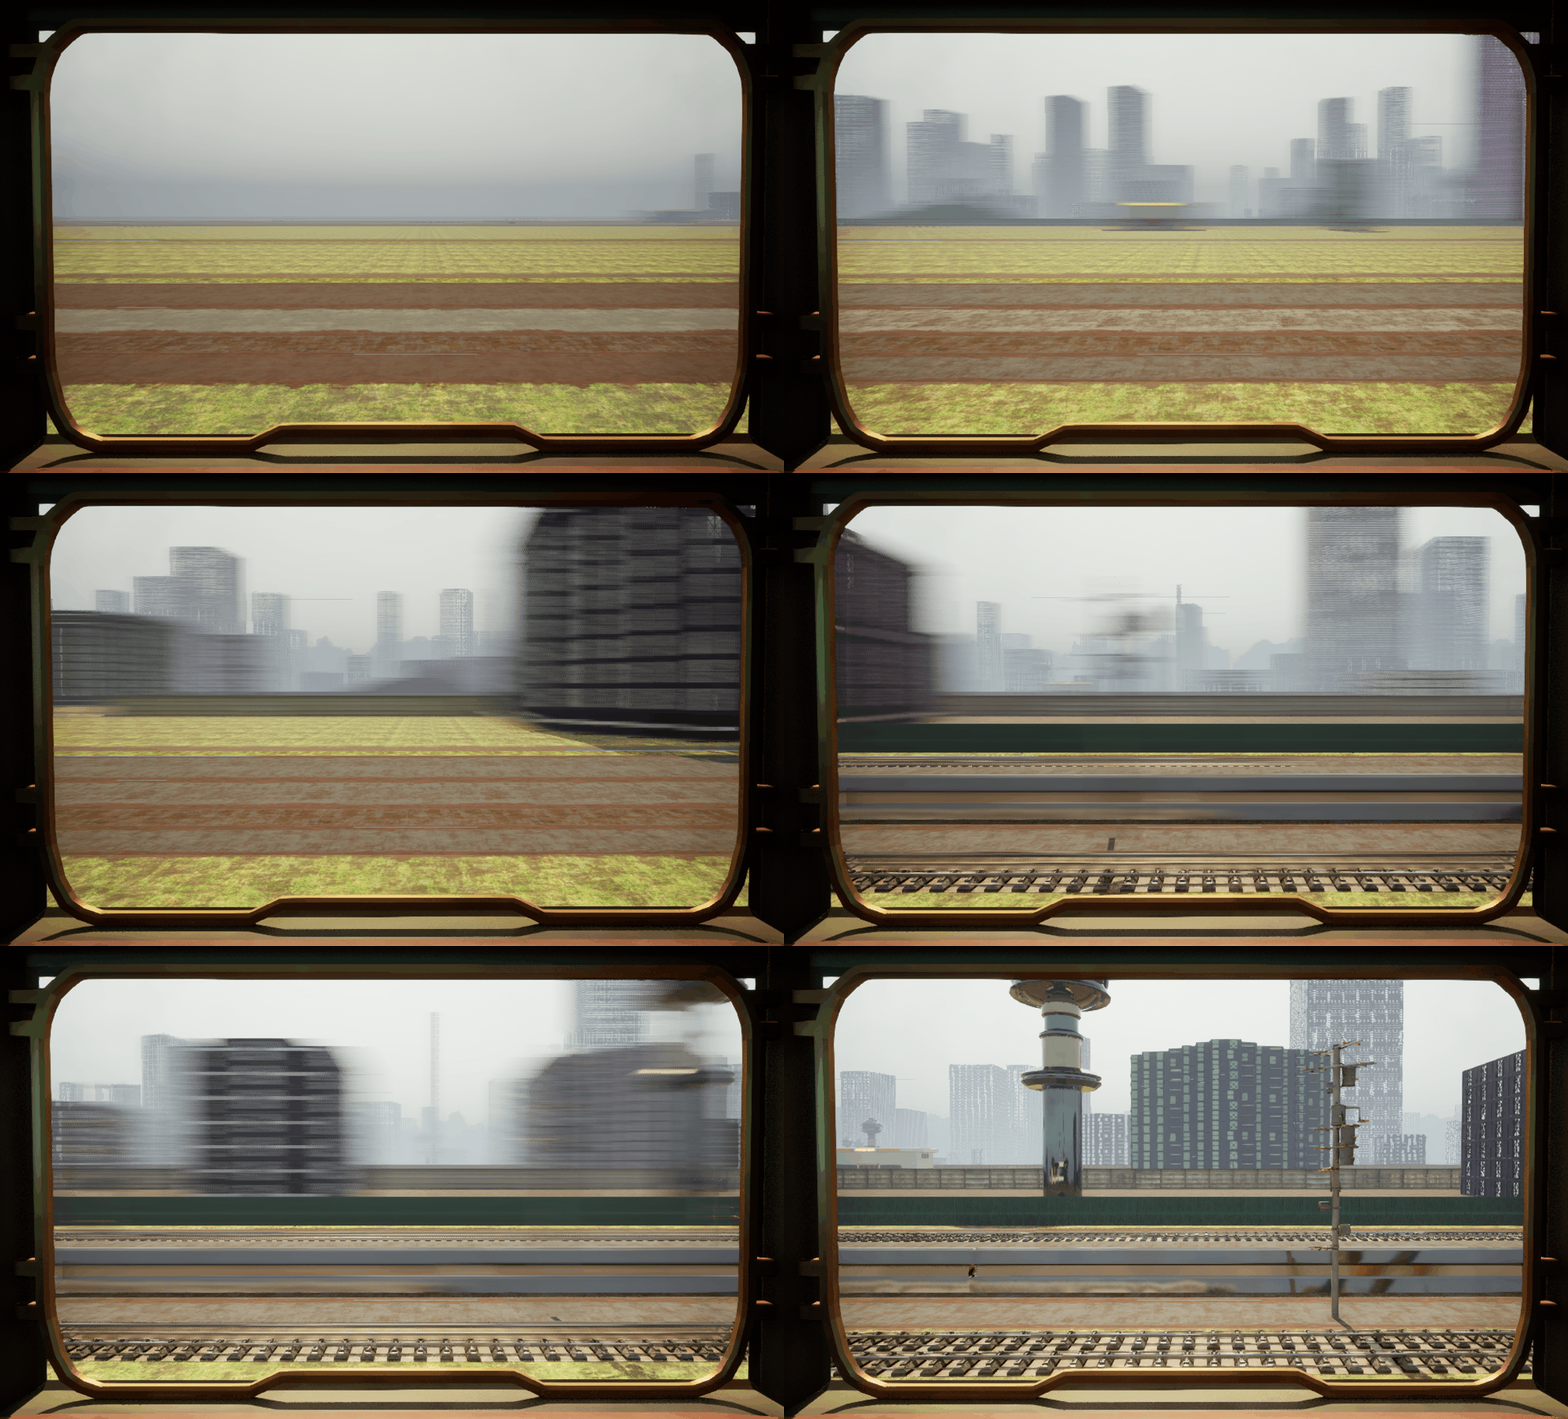
Stopped / Start
After the world is filled, the system will slowly transition to the Start Area in a similar way, as well as the speed. If Start Stopped? is ticked true, the train will be stopped, and will not continue to move and shift items.
Kick Start Lanes
The Speed event is what triggers each individual lane, if the train is stopped nothing happens, but if its speeding up or at max speed, I loop through every lane and run what I call my “Tick check”, which does a few things.
First, I checks if the Queue is empty,and if it is, more items get queued. If the Que is not empty, and items are ready to be added, I check if there’s any items currently in movement, and trigger them to start moving again if they are stopped. This tick check just runs the correct events depending on the situation.
Movement System
There are a few things to explain to better understand how to movement system works. First of all, each lane is in charge of moving and placing the assets on their lane, and only check back with the main manager for available items when I need to add items to the Queue.
Queue and Item Check
To get the system started, items need to be added to the queue. The lane checks how many items need to be added then runs this loop that many times. First, I check if any item types are on cool down, and remove those from my available item types.
To add an item the lane double checks with the main manager to see what assets are available to spawn.
Queue Speed
The amount of items that should be in the queue is directly related to the speed, so that the system doesn't stall.
Per each area, I choose the max speed and the max associated queue speed based on trial and error. This math mainly comes in when the train is slowing down or speeding up, so that the queue reacts accordingly. I divide the current speed by the max speed and use that percentage to lerp between 0 and the max que speed. If the train is not moving, Items wont be queuing either.
Weighted Randomness
I select a random available item type/ category based on probability. The math for this is done by adding together all the available item’s probabilities, selecting a random number between 0 and that number, then subtracting all the probabilities until that number equals 0. This way I can have weighted randomness to choose items.
Communication
After an item type is selected, my lane communicates with my main manager to access information about that item type, specifically, Im looking for what meshes are available, and randomly select one to add to my queue, and remove from available actors.

I also included a version of this in each item type for debug purposes, Here you can watch the start-up for my Large Building.
Cooldown
After the asset is added to the queue, I check if it should have a cool down. This is to avoid many of them spawning right after the other. For example, Gas station have a high likelihood of getting chosen, but i dont want 15 gas stations right after each other. Every item has delay min and max, I choose a random number in between those and add it to my current game time, this number is when this item is next allowed to spawn in that lane. I save that number along with the item type on cool down. Next time I run the queue, I check if any items are there, and if the current game time has reached that number, the item is added back into items available.
Add to Lane
The first item in the queue becomes the pending actor, and to spawn the pending actor the lane needs to be free. Lets assume this is the first item being spawned, and the lane is already free. This item is added to the lane and a few things happen.
Chosen Actor
Because most item information lives in the main manager, the lane needs to communicate again. In the main manager, I take my chosen actor and remove it from the in queue category and add it to the items in movement, both in the item and in my lane. After that’s been sorted, It’s added to the start on the lane.
Pivot points and sides
A big problem I had was things overlapping with each other, it was challenging to solve because it was happening for a variety of reasons. One being that I flip my items rotation to face the train, and therefore mess with the side the pivot point is on.
I want to ensure that an item is being spawned with it’s edge to the very end of my lane. Meaning, if its pivot point is flipped, I spawn it it’s length away from the lane’s starting point.
After its added its also set to be visable in game.
Pivot points Spawning
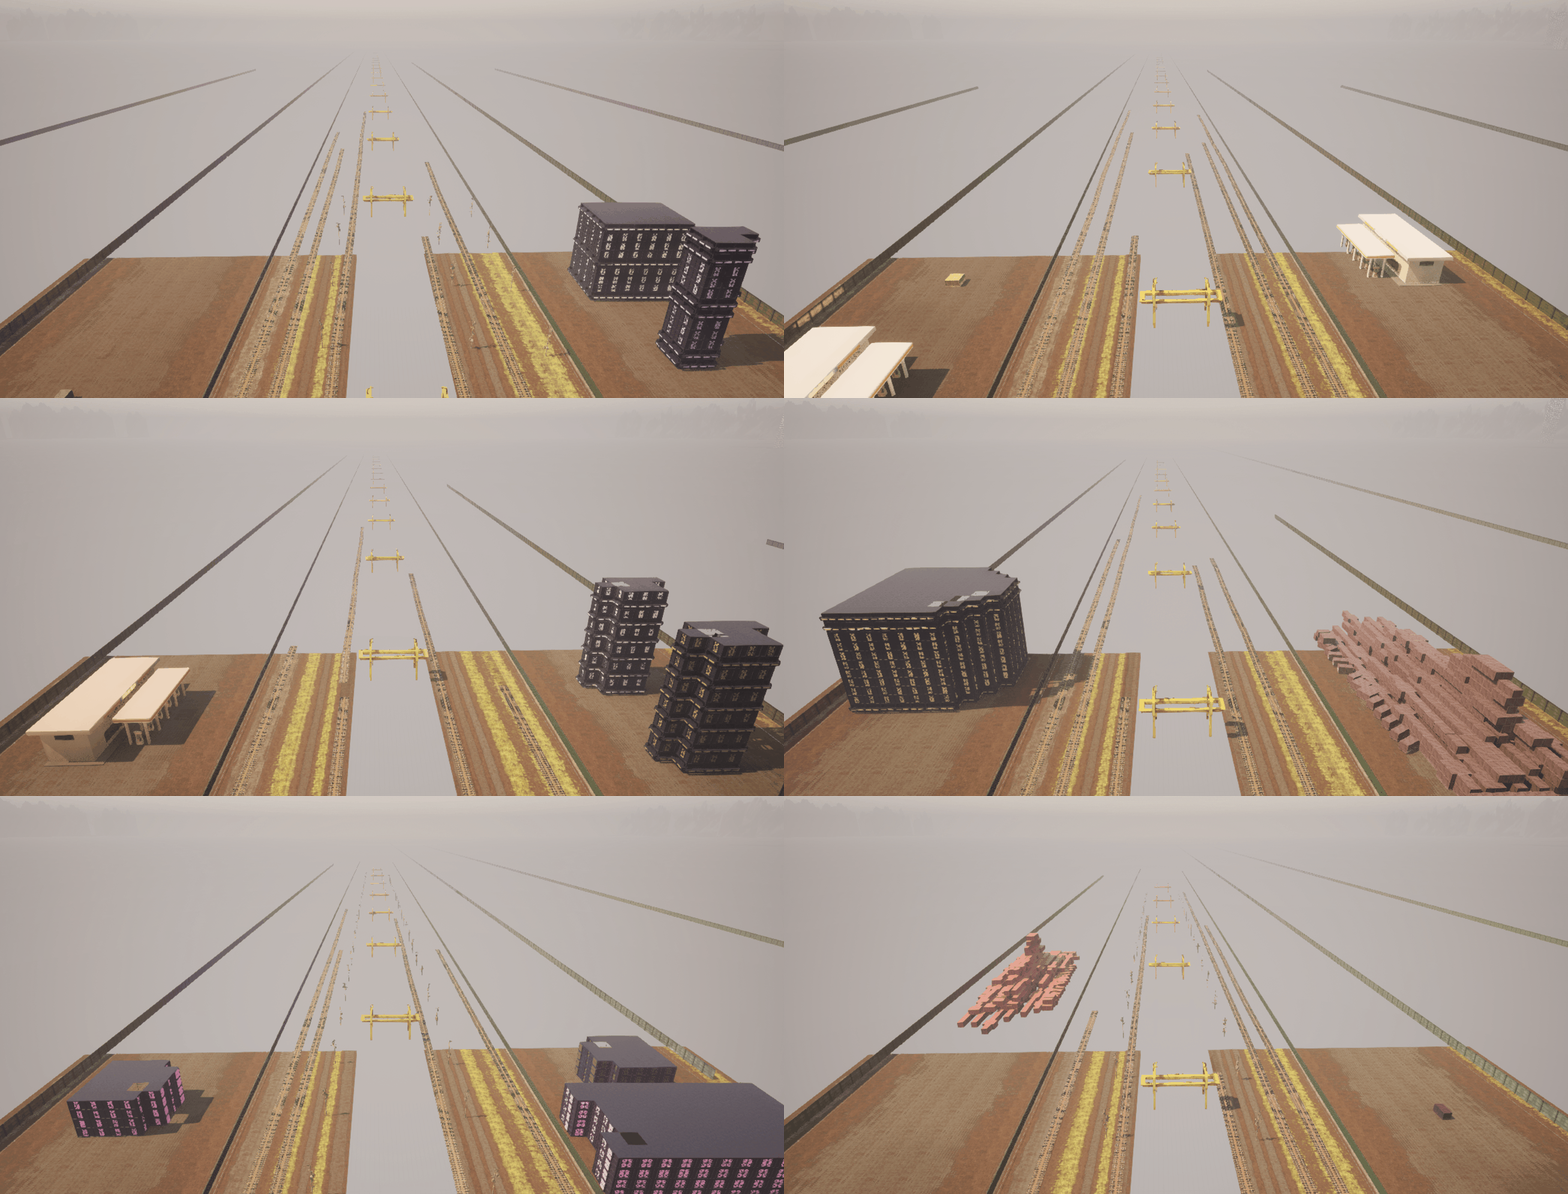
As you can see here, Items are being added further back on the left side to account for the pivot point difference.
Left Side


Right Side


Lane State
After the item is successfully added to the lane, we go back to being in the lane, where the lane state is set to “Busy”, meaning more items cant be added. The logic to determine if the lane is free is essentially asking is there room for the pending item to fit between the last item and the start.
Also as a note, the item length and width is calculated with bounds during initialization and added as a tag.
Should be
First of all, I determine which is longer, the pending item or the last item I placed. I use the larger number for the rest of my calculations, because I was having issues with a long item being spawned after a short one and them being overlapped. The larger length will be my Length, and my Should Be location.
Distance Away From Start
I subtract the start location from the actors current location, this is my distance away from start. If the pivot point is flipped, I subtract the start location from the length, and that becomes my new start location for the equation.
I then ask, is my distance away from start greater then my Should Be location? Meaning, has the item moved far enough for a new item to spawn?
If yes, the lane is now free and the next item can be added! If no, I recheck after a short delay.

Here is a visual where the cube turns red when the lane is busy and white when its free.
Movement
Now that there are actually items in the lanes, they can be moved!
Movement runs on a loop, I essentially go through all the items in movement and add to their transform until they reach the end.
So, during initialization, I calculated my speed modifier for each lane. I multiply this number by the current speed to figure out how much i should add to it’s current transform.
Kill Distance
After the item is moved, I take its current location and compare it to the end of the lane. If its flipped, I add it’s length to it’s current location and that becomes my new current location.
I ask if the current location has exceeded the end of the lane, if not nothing happens, but if it does then that means it’s reached the end and needs to be put back into the pool.
Back to Available
To do this, my lane needs to communicate with my manager once again. I send my actor to the main manager and a few thing happen.
First of all, the visibility is changed to hidden. Then, the actor is removed from the lane’s items in movement category, and added back into the item’s Available items category. It’s location is set to be under the map just in case, and now it’s available to be randomly selected and used again!
Floor Material
The very last thing I have to talk about is my floor material, which in terms of movement and probability functions very similarly to my items, but also has a few unique challenges.
To note, Each lane has it’s own material instance, and each instance has 2 texture inputs, Texture A and Texture B. Using the same probability system, I essentially interpolate between Texture A and B, and set whichever one is currently on standby.
Each material has a duration that it lasts before I pick a new material, and so on.
So, for example, Lets say I pick Dirt as my Material, I’ll set all the texture information in the Dirt Data Asset to occupy Texture A. From the data asset, I also pull my transition value and duration. I pull my transition value and start interpolating the material to be 100% texture A over that amount of time, and delay however long the duration is. After it ends, I randomly choose another material, lets say Asphalt, and knowing I just used Texture A, I occupy texture B, and set all the texture information. I then interpolate to Texture B and redo all the same steps. This way Ican have it look like we are moving through different places.
Interpolation
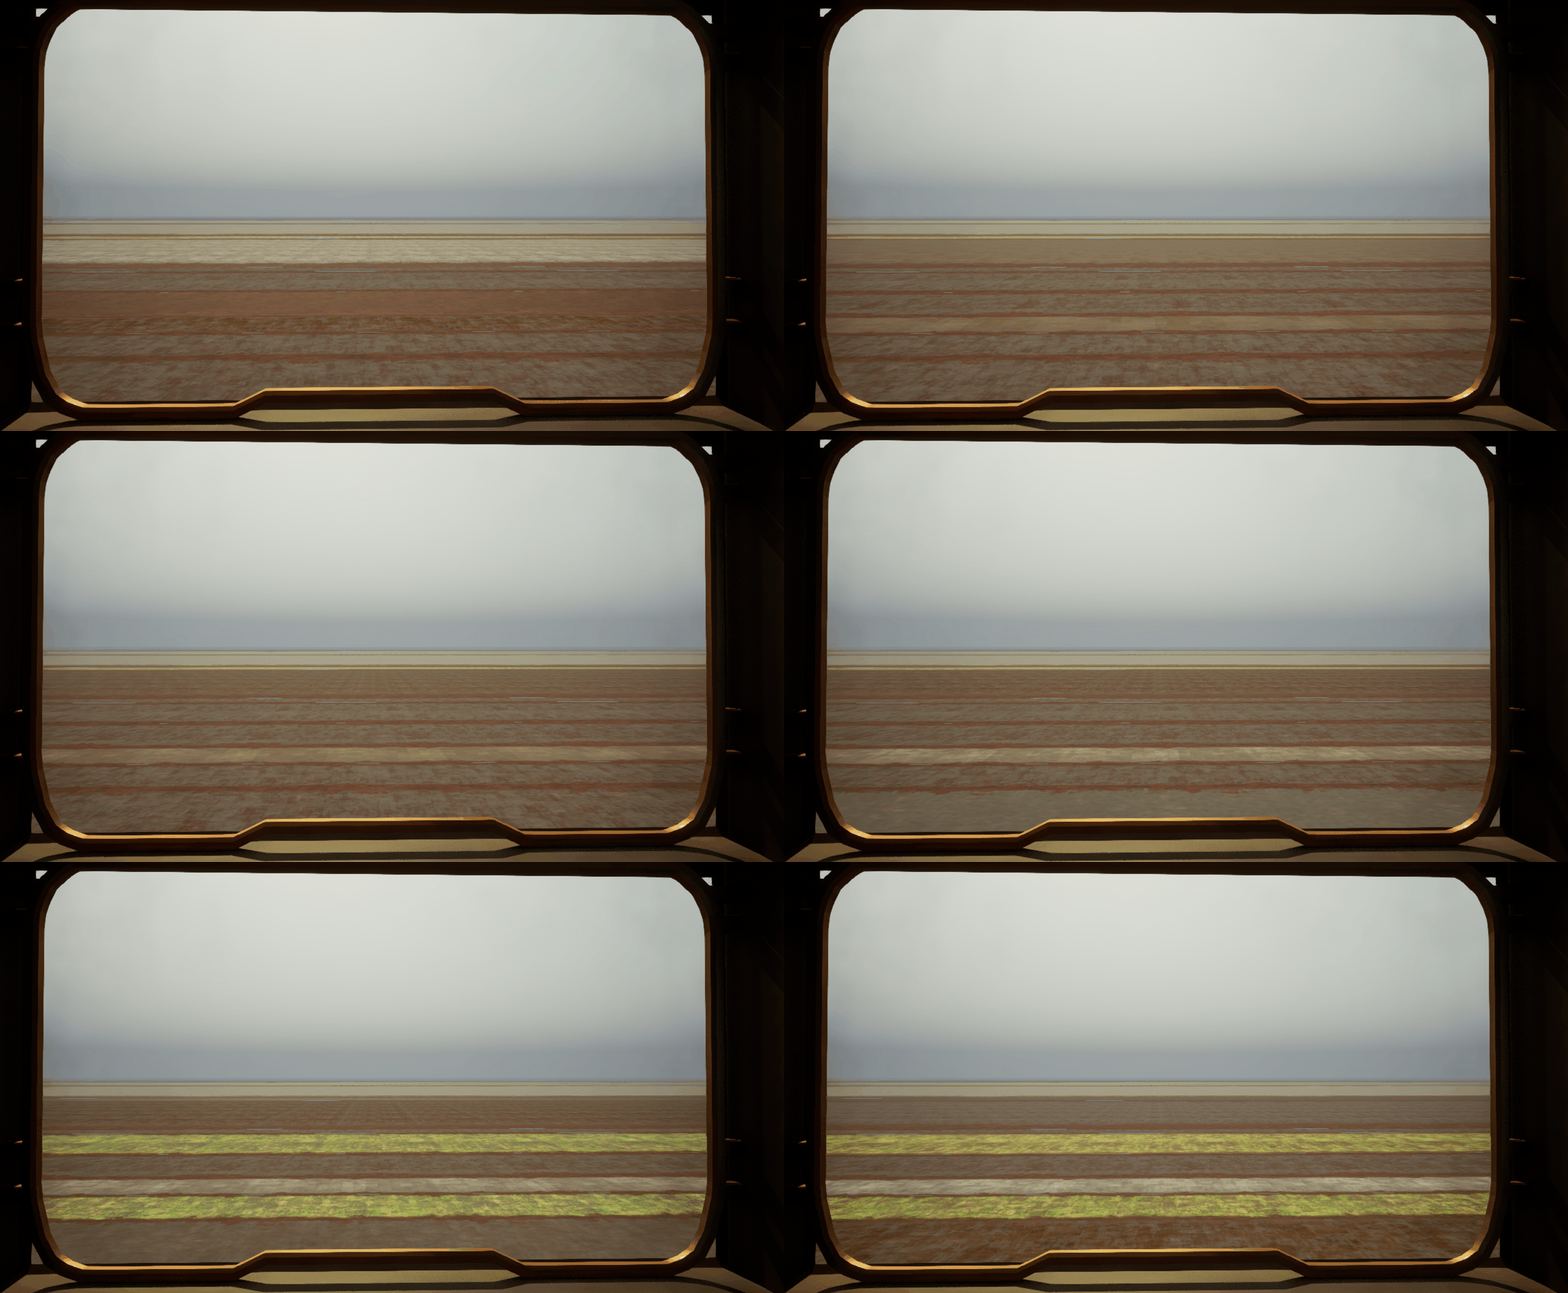
Here is what that looks like
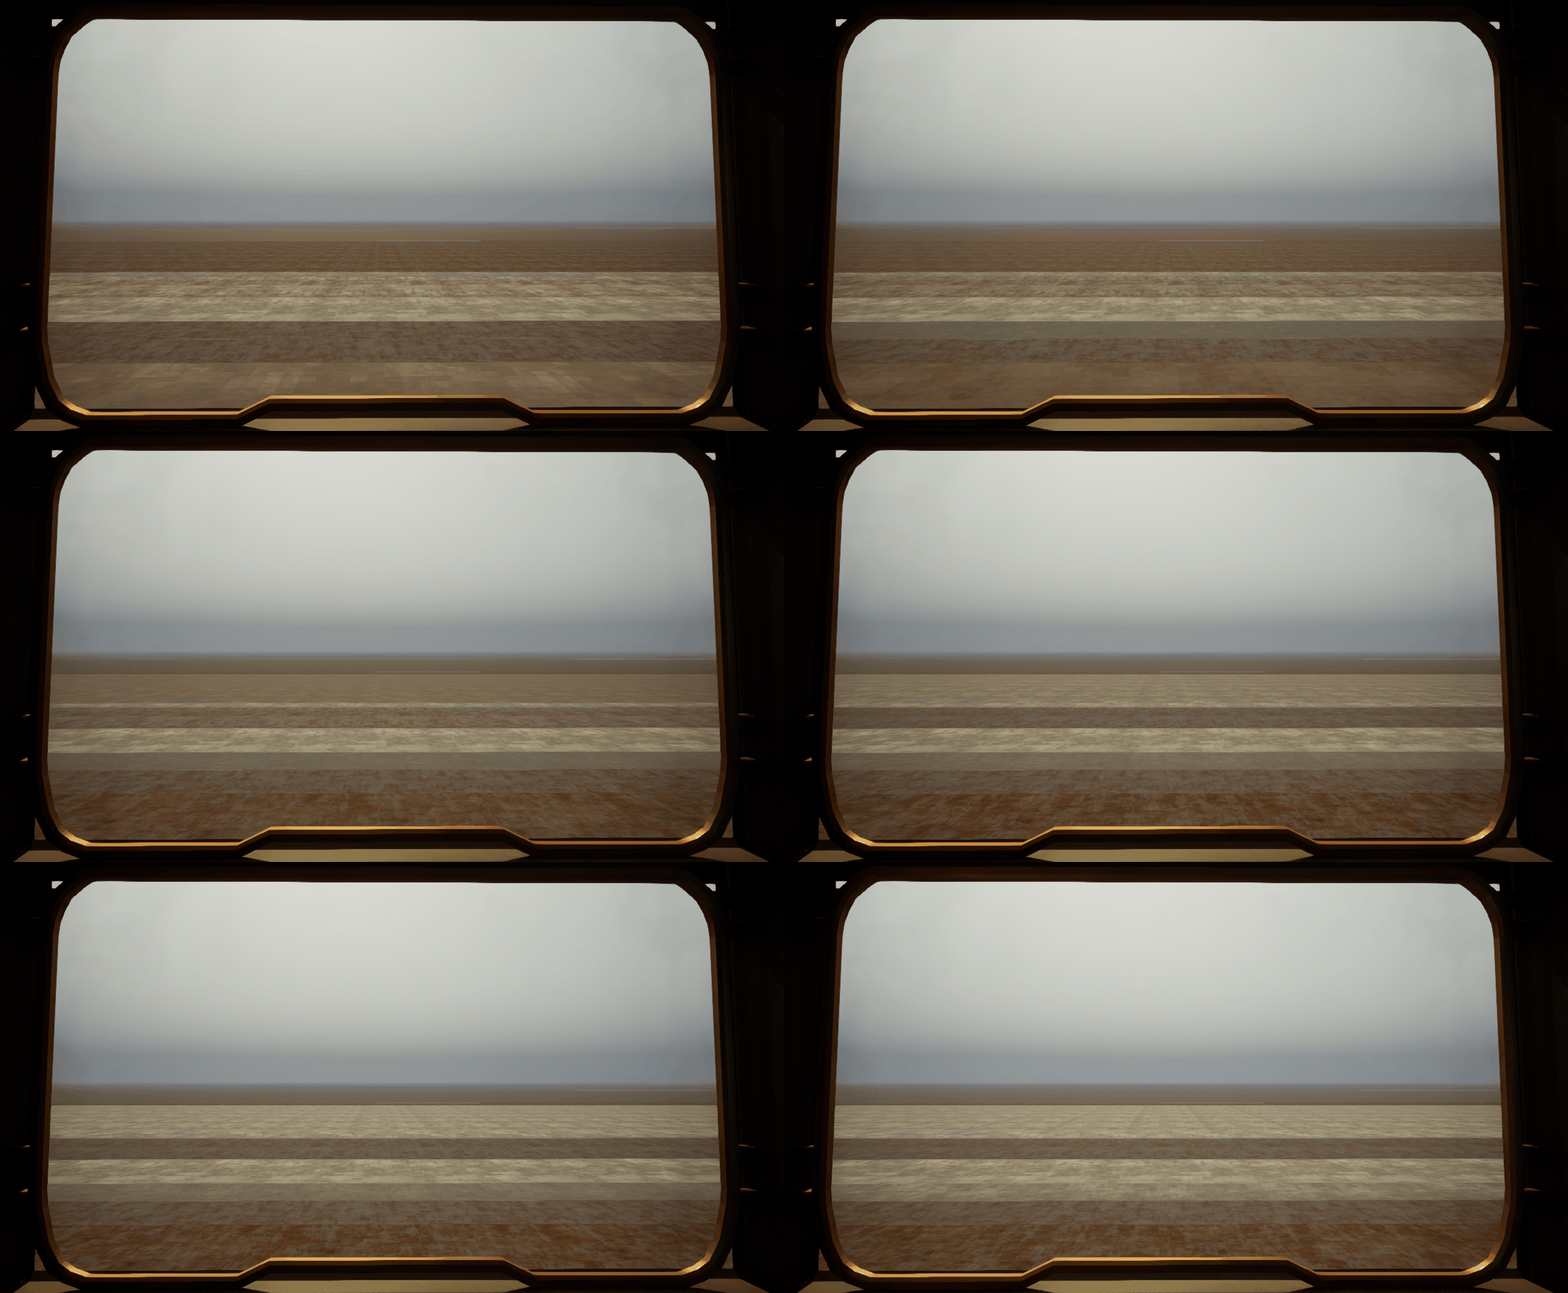
Seams
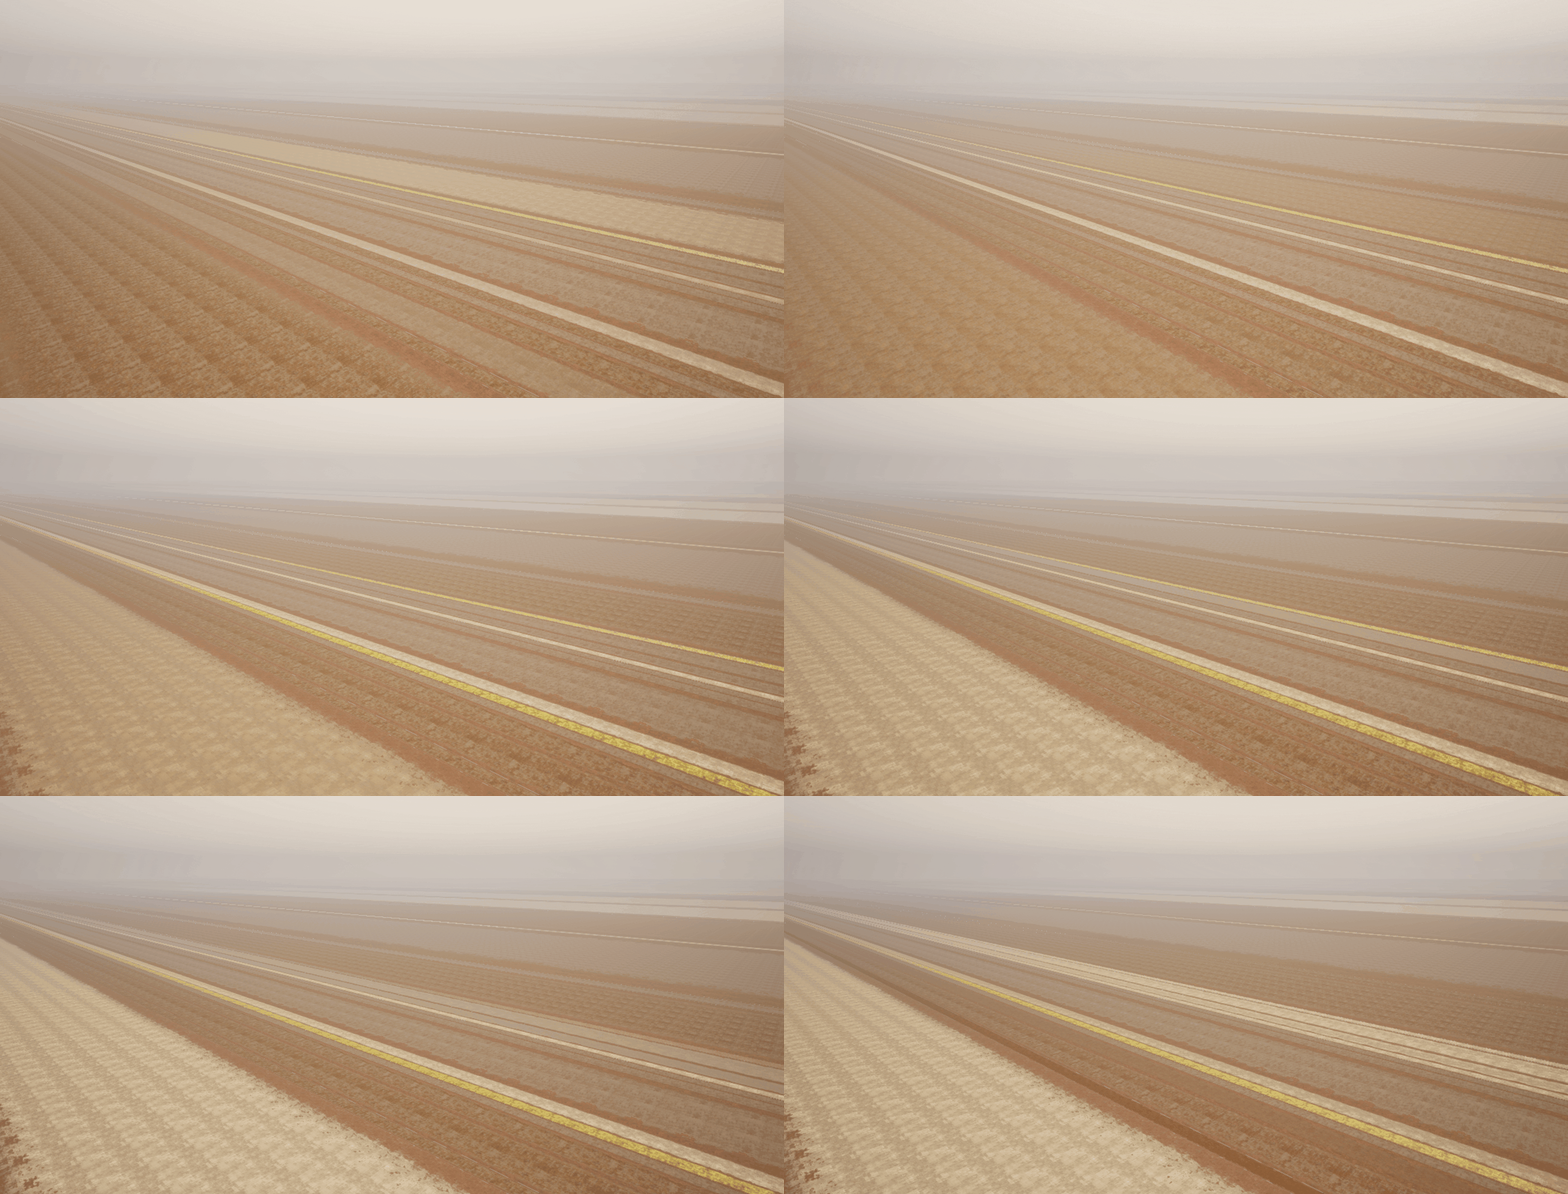
Unfortunately, the seams were very obvious, and because each lane had a separate instance it was hard to blend between them. To combat this, I used a mask at the edges of my lanes so that they could blend more seamlessly
Here is a different angle
Conclusion
I’ve created a modular and robust asset management and placement system that manages 4540 assets!
Here are some more videos and pictures of the final environment.
Credits
A HUGE HUGE THANKS TO MY WONDERFUL ENVIRONMENT ARTISTS Ethan Chin and Yuqing Wang WHO MADE THIS POSSIBLE!!
Check them out!
Final Visuals


